Change the uMi name
Start uMi Control.
The name of your uMi can be changed by choosing the menu item “Tools/Change uMi Name” or type Ctrl+N on your keyboard.

In the following dialog, type in the name you want to give to your device. The final name will always be preceded by “uMi “. So for instance, if you type in “Florence” , the name will be “uMi Florence”. The length of the name will be limited to 16 characters excluding the preceding “uMi “.

On macOS the new name is immediately used when you remove and insert the uMi again.
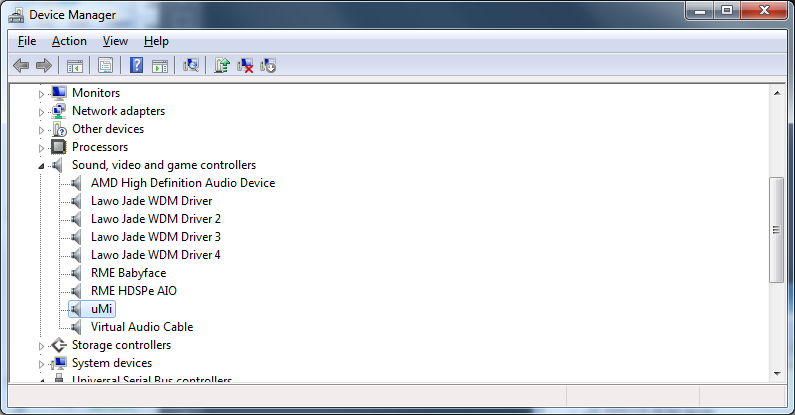
On Windows you first have to uninstall the previous device. So if your device was simply called “uMi”, go to “Control Panel/Device Manager”, then go to “Sound, video and game controllers”, right-click on “uMi” and choose “Uninstall”.

Now remove the uMi from your device and insert again. The drivers are installed again, using the new name.
Set a password
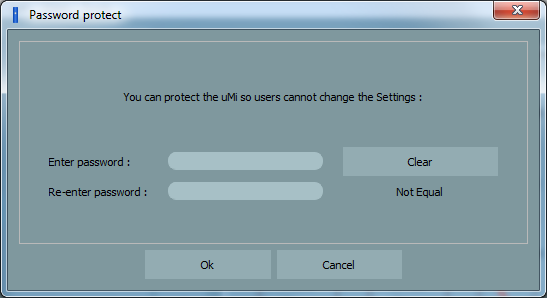
To protect your device presets from tampering, you can set a password for your uMi. This will make sure nobody can edit the uMi except you. Simply choose the menu item “Tools/Set Password” or type Ctrl+P on your keyboard.
A dialog will then appear that allows you to set the password.

The length of the password will be limited to 12 characters.
To disable the use of the password , simply press “Clear” and “Ok”.
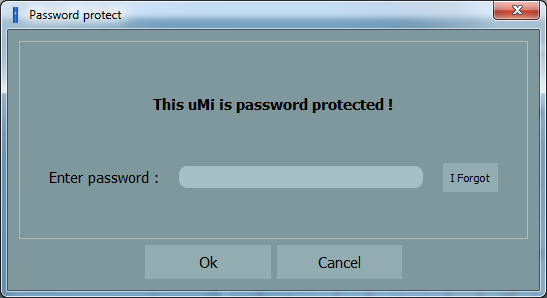
Each time you start uMi Control, it will ask you for the password.

If you “Cancel”, the user can look at the preset settings, but can not change them.
If you forgot your password, press “I Forgot”. Then an email is constructed with details about your uMi which enables us to send you a Password reset code. Please be sure to add your sales-slip/invoice to the email so we can be sure the uMi belongs to you.
But please be sure to remember/save your password in a safe place !
